
AI Buying Guides | Ecommerce
AI Product Photography Kit: What to Check Before You Buy
· By Emmanuel Abou Chabke, founder of Market Me Global Academy
You have a product to sell and a photograph that does not do it justice. An AI tool can suggest a more attractive scene, but the first impressive image is rarely the whole job. You still need to preserve the actual item, choose a consistent direction and export something that works in your shop.
This guide explains what to check before you buy an AI product photography kit, when software or a professional shoot is the better fit, and how to judge the result. It features our own paid Academy kit, so this is a product-fit guide rather than an independent ranking of every supplier.
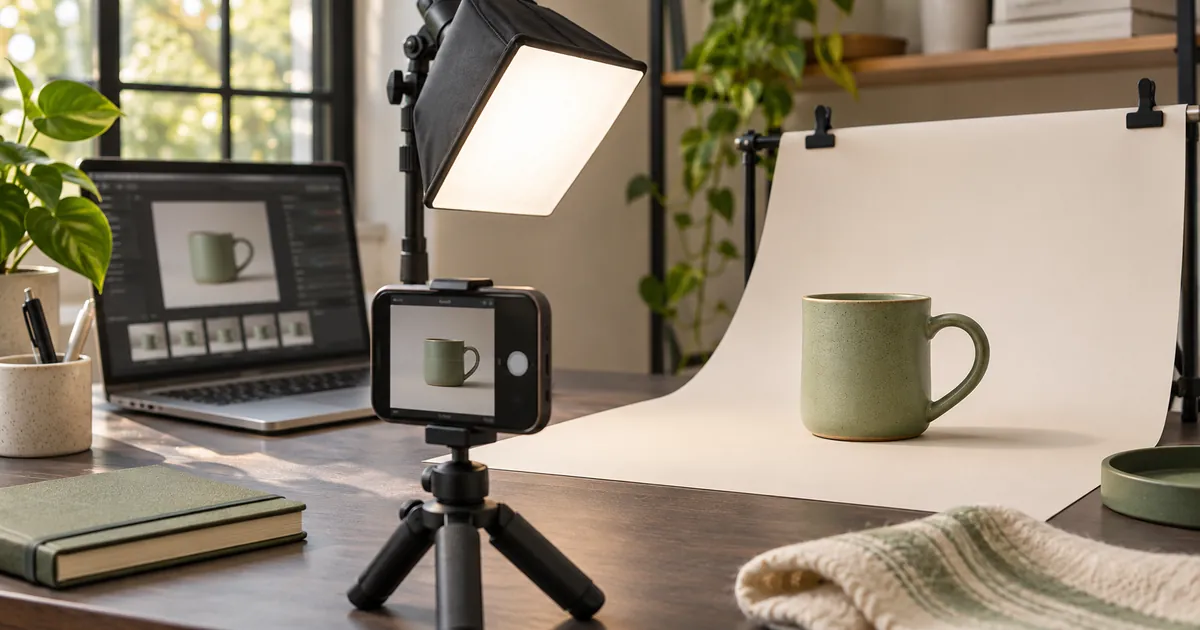
Who should buy an AI product photography kit?
A kit is worth considering when your problem is the process. Perhaps every product has a different background, you keep starting prompts from scratch, or you cannot decide whether an image is accurate enough to publish. A guide with worksheets and a worked example can help connect those decisions into a repeatable session.
A practical fit
Small retailers and creators who can supply real reference photographs, operate image tools and review a modest catalogue themselves. The useful outcome is a documented workflow that can be repeated.
Ask for specialist help
Products with difficult reflections, intricate details, exact finish requirements or high consequences if misrepresented. A professional photographer or retoucher may offer the control and responsibility you need.
Do not buy simply because a cover promises hundreds of prompts. Ask which file you would use first and what decision it would help you make. If you only need to remove one background and already know how to check the result, an existing editing tool may be enough.
AI photography kit vs image software vs a photographer
These options solve different parts of the job. A kit teaches and organises the work. Software performs edits or generation. A photographer captures and controls a shoot within an agreed scope. You may need more than one, but it helps to understand what each purchase actually supplies.
| Option | What you buy | What to check |
|---|---|---|
| AI product photography kit | Instructions, prompts, worksheets and examples | File contents, preview, licence and separate tool costs |
| AI image software | Access to generation or editing features | Reference support, limits, credits, export and commercial-use terms |
| Professional photographer | A planned capture and delivery service | Brief, shot list, retouching, rights, revisions and delivery files |
Keep the comparison tied to your product. A lifestyle concept for social media and a catalogue image showing an exact material finish have different requirements. Choose the method that can meet the requirement, then compare cost.
What is inside the Academy AI Product Photography Kit?
The AI Product Photography Kit brings planning, prompting, review and export into one downloadable package. Its contents are listed below from the same product module used by the product page, so this guide does not promise a different set of files.
- Practical guide to AI-assisted product photography workflows
- Fillable planning and review worksheets
- A copy-and-adapt prompt pack for product shots
- A quick-start sheet for your first session
- A fully worked mug example with before and after images
- Blank templates: review tracker, export manifest, prompt log and editing brief
The worked mug example is useful because it shows the steps together. The blank templates help you record a new session instead of trying to remember why one prompt worked. You receive learning and working materials; image generation tools, software subscriptions, a managed shoot and individual coaching are not included.
The product page confirms the current offer and delivery information. The sample lets you inspect the approach without buying. Neither the guide nor the sample guarantees a particular image or sales result.
Check the total cost before buying
The current Academy kit price is $11.49, a one-time digital purchase. The current launch offer shows 10 of 10 copies remaining; the standard price is $23. The amount shown here uses the existing product offer and selected currency.
Your production cost may also include an AI account, generation credits, editing software and the time spent reviewing rejected attempts. Compare the cost of a usable final image rather than the cost of a single generation. A cheap tool can become expensive if the product details repeatedly need repair.
Download the free sample first. Ask whether you understand the instructions and whether the method suits the products you sell. If you need someone to produce the finished photographs, a kit alone will not provide that service.
A seven-step AI product photography workflow
Use this public overview to plan a first test. It explains the decisions involved; the paid kit supplies its own detailed prompts, worksheets and worked files.
- 1
Define the image’s job
Decide whether the image explains the item, shows a detail or illustrates a possible setting. Note the channel, crop and background requirements. A catalogue main image may need a simpler treatment than a social post.
- 2
Capture a truthful reference
Photograph the actual item clearly, with useful angles and even lighting. Keep the original file. The reference should show the shape, texture, colour and features you will later check.
- 3
Write a fixed product description
List the details that must not change: handle shape, seams, dimensions, label, finish or included parts. Distinguish those facts from optional scene elements such as a surface or background.
- 4
Create one controlled variation
Begin with a simple background or lighting direction. Change one major element at a time so you can identify what caused a problem. Use the chosen tool’s reference or editing features where suitable.
- 5
Compare against the real item
Inspect the generated image alongside the source photograph and physical product. Check small details at full size. Reject changes that make the item look like a different version or imply accessories are included.
- 6
Approve a consistent set
Choose a common crop, background treatment and lighting direction for related products. Review the images together. Consistency helps the shop feel coherent, but it should not come at the expense of truthful detail.
- 7
Export and inspect the shop page
Keep the master and export a web-sized copy. Check the actual page on a phone and desktop, including the crop, zoom and loading behaviour. Record what was approved so the next session has a clear starting point.
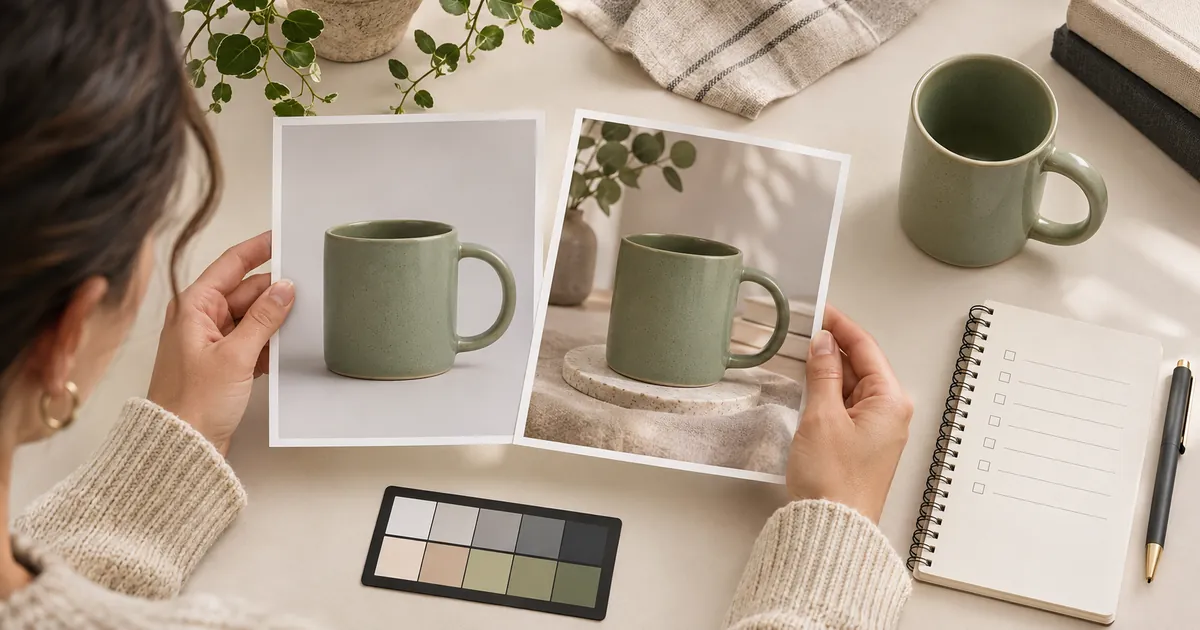
Make the product accurate before making the scene impressive
A beautiful image can still be unsuitable for selling. A slightly larger handle, a smoother texture or a different colour can change what a customer expects to receive. Review shape, scale, finish, labels, patterns and included components. If the tool cannot preserve an important detail, use a real photograph or specialist editing for that image.
Treat backgrounds carefully too. A mug beside a spoon, gift box and matching plate may suggest those items come with the purchase. Make the offer clear and avoid styling that misrepresents the product. Do not generate certification marks, customer endorsements or performance evidence to make the scene more convincing.
Keep concepts distinct from proof. An illustrative lifestyle scene can help someone imagine a setting, but it should not be presented as a documented customer installation or a measured before-and-after result. Your own listing facts and the selling channel’s current requirements should guide the final choice.
Export product images for the web without losing useful detail
Keep a high-quality master, then create copies sized for the places they appear. WebP can reduce the transfer size of photographs, but inspect the export for blurred labels, rough edges or lost texture. Increasing compression until the file is tiny is not useful if buyers cannot judge the item.
Use descriptive filenames and alt text that explains the image’s relevant content. Add dimensions so the page can reserve space while images load. Load supporting images when needed and give the main image appropriate priority. Check the page itself, since an oversized crop or theme setting can undo an otherwise careful export.
The two editorial images in this article are delivered as WebP at 1200 by 630 pixels. For your own shop, choose dimensions and formats that fit its actual display and selling-channel requirements. Good images support the page; they do not replace accurate copy or a clear offer. For listing text, continue with our AI-assisted Etsy listing guide.
Frequently asked buying questions
What is an AI product photography kit?
It is a set of learning and working materials for planning, prompting, reviewing and exporting AI-assisted product images. The Academy kit contains a guide, worksheets, prompts, a quick-start sheet, a worked mug example and blank templates. It is not photo editing software.
Is the Academy photography kit a subscription?
No. It is a one-time digital purchase. AI software, subscriptions and generation credits are separate and are not included in the kit.
Can I try the kit before buying?
Yes. The Academy offers a direct free sample PDF without an account or email signup. Inspect it before deciding whether the approach fits your product and experience.
Can AI replace my real product photographs?
It depends on the image’s purpose. Keep real reference images and reject generated changes to the product. Detailed finishes, exact colours and regulated or complex products may need professional photography and specialist review.
Do I need coding skills?
No coding is required for the kit. You still need to operate your chosen image tools, adapt instructions and review the output carefully.
Does buying a kit guarantee better sales?
No. A kit supports a production method. Image quality and commercial results depend on the product, source photographs, tools, review, offer and the rest of the customer experience.
How is the kit delivered?
After payment is confirmed, the Academy provides a secure 24-hour download link by email and on the success page. The purchase is delivered as one ZIP containing the listed materials. Save the files locally.
Can I use AI-assisted product images on my shop?
Check the chosen tool’s licence and the selling channel’s current image rules. Use images that accurately represent the item, distinguish illustrative scenes where necessary and do not imply included accessories or features that the buyer will not receive.
Run one product through the process before expanding
A small pilot gives you a better buying decision than a long feature list. Choose one product you can inspect in person, keep the original photograph and define the image’s intended use. Record the generation attempts, editing time and reasons for rejecting a result. The method is useful when it helps you produce accurate, usable work consistently, rather than occasionally finding an impressive image.
Try this example
For a plain ceramic mug, approve one neutral-background image and one lifestyle concept. Compare the handle, rim, colour, glaze and proportions with the physical product. Reject an image that changes the mug even if the lighting looks excellent. Keep a real photograph available wherever a buyer needs to judge the actual finish.
Check your result before the next step
- Compare the final image with the actual item and the original reference.
- Record separate software costs, editing time and rejected attempts.
- Export a suitable web image, inspect it on a phone and keep the master file.
One more question, answered
What is the quickest way to decide whether this photography workflow suits my shop?
Read the free sample, choose one real product and try a small planning and review exercise. Compare the time, costs and product accuracy before committing to a larger catalogue workflow.
Continue with the AI Product Photography Kit and its current offer to put this guide into practice.